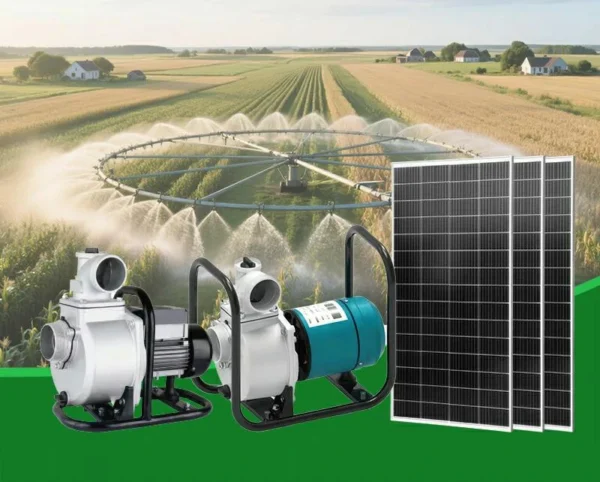
Imagine having a reliable source of water for your crops or household, powered by the sun’s energy. No more worrying about fuel costs or environmental impact. With a solar water pump system, you can enjoy a sustainable and cost-effective solution for your water needs.
Step 1: Assess Your Water Requirements
Before diving into the installation process, it’s essential to determine your water requirements. Consider factors like:
– Water Source: Identify the source of water, whether it’s a well, borewell, or pond.
– Daily Water Needs: Calculate the volume of water required for your crops or household.
– Head and Flow Rate: Determine the total head (depth) and flow rate required for your pump.
Step 2: Choose the Right Solar Water Pump
With your water requirements in mind, select a solar water pump that meets your needs. Consider:
– Pump Type: Submersible or surface pumps, each designed for specific applications.
– Power Capacity: Match the pump’s power requirements with the solar panel capacity.
– Flow Rate and Head: Ensure the pump can handle the required flow rate and head.
Step 3: Select and Install Solar Panels
Solar panels are the heart of your solar water pump system. Consider:
– Panel Capacity: Choose panels that match the pump’s power requirements.
– Panel Orientation: Optimize panel orientation for maximum sunlight exposure.
– Mounting Structure: Install a sturdy mounting structure to hold the panels in place.
Step 4: Install the Pump and Connect Components
Install the pump and connect the components, including:
– Pump Installation: Follow the manufacturer’s instructions for installing the pump.
– Pipeline Connection: Connect the suction and delivery pipelines to the pump.
– Wiring: Connect the solar panels to the pump controller and ensure proper wiring.
Step 5: Set Up Water Storage and Distribution
Efficient water storage and distribution are crucial for maximizing the benefits of your solar water pump system. Consider:
– Water Storage Tanks: Install tanks to store pumped water for later use.
– Distribution Network: Set up a network of pipes, valves, and sprinklers to distribute water.
Step 6: Test and Commission the System
Once all components are installed, test and commission the system:
– Initial Checks: Verify the system’s functionality and performance.
– Performance Monitoring: Monitor the system’s performance and make adjustments as needed.
Step 7: Maintain and Monitor the System
Regular maintenance is essential to ensure the system’s longevity:
– Panel Cleaning: Clean the panels regularly to maintain efficiency.
– System Checks: Perform regular checks on the system’s components.
– Troubleshooting: Identify and address any issues promptly.